
We left off yesterday with some almost done rosettes. Now we'll finish them off depending on what we're using them for.
First, the bracelet:
You'll need:
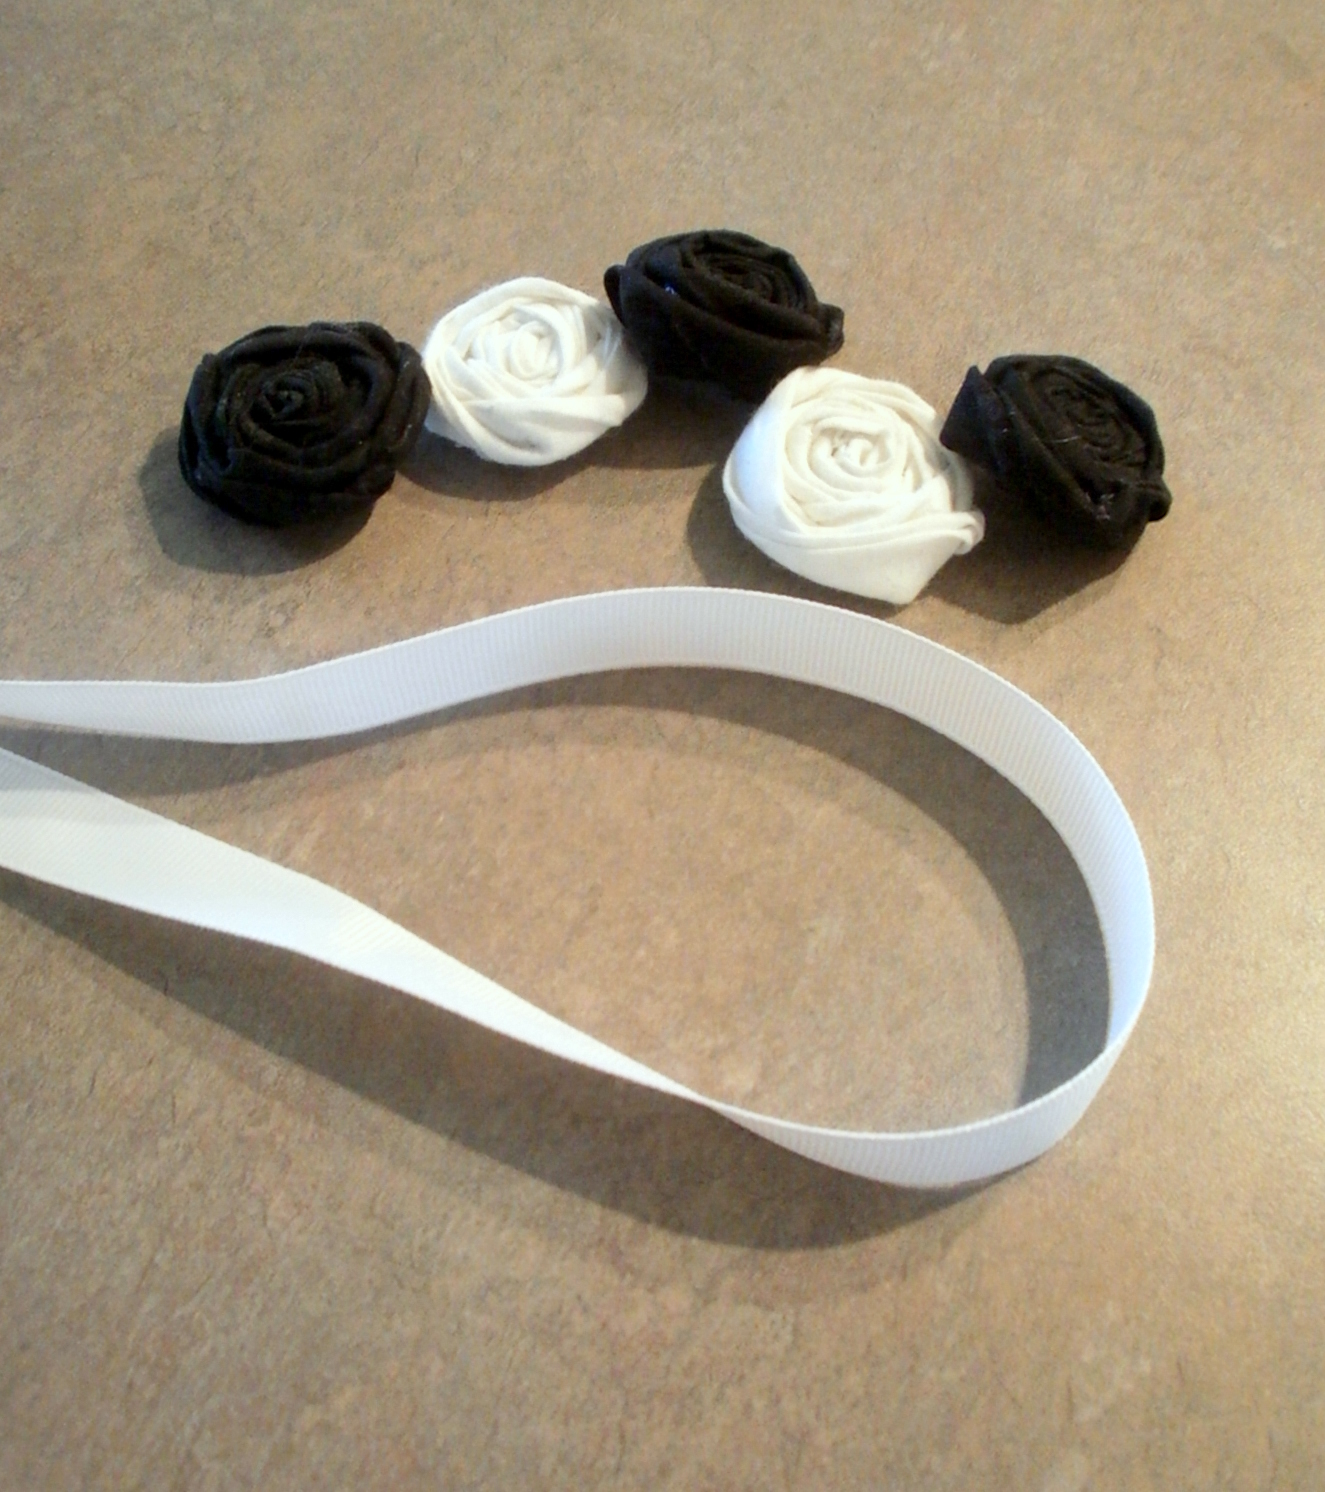
4 to 6 rosettes, depending on the size
some scrap fabric or felt
ribbon, cut to the size of your wrist, plus a bit of extra length to tie in a bow
hot glue

1. Cut a bit of scrap fabric or felt into a square slightly larger than the width of your rosette. Apply a generous amount of hot glue to the underneath side of your rosette.
2. Press the scrap fabric onto the hot glue to adhere.
3. Trim away the excess fabric and glue down any loose edges. This is now your finished single rosette. (By gluing on the scrap fabric, it'll help hold the rosette together and give it a clean finished look.)

5. Add the next rosettes on either side of the center, placing them as close to the center rosette as you can. (Seriously. Just smash 'em together as much as you can. It'll help with filling the gaps later.)
6. Repeat with all remaining rosettes.


And there you have it! A pretty rose bracelet to give as a gift, or wear yourself!
Now for my favorite project, the necklace:
You'll need:
5 rosettes (I used varying sizes)
scrap fabric or felt
thin link chain (about 20" to 22" long)
ribbon
hot glue

1. We'll start by gluing the rosettes together first. Apply a dot of hot glue on the side (near the bottom) of the rosette, and press rosettes together to adhere.

2. Once they're all glued together, cut a bit of scrap fabric slightly larger than the size of the rosettes (like you did in step #1 of the bracelets).
3. Apply a generous amount of hot glue to the back side of the rosettes, and press the scrap fabric onto it to adhere. Trim away any excess fabric and glue down any loose edges.

4. Now it's time to add the chain. I used a very thin link chain that I found in the jewelry section of the craft store. This kind works perfectly because it cuts easily with just regular scissors. No need for wire cutters or any special tools. Loop the chain around your neck and adjust until you find the length you want, then cut. I made mine long enough to go over my head so I didn't have to mess with clasps--it ended up being about 20" long.

5. Apply a dot of hot glue on the backside in the center of the top rosette. Lay one end of the chain into the hot glue.
6. Cut a tiny scrap of fabric and lay into the hot glue over the chain and press to adhere. This will keep the chain secure in the glue, and also give it a nicer finished look.
7. Repeat with the other end of the chain on the other side of the rosettes.

8. To give it a little pop of color, I added a bow onto my necklace. Tie a piece of 1.5" satin ribbon into a bow, adding a little dot of hot glue under the center loop (kind of tucked inside) to keep it from coming untied. On the back of the ribbon, add a dot of hot glue and press the chain into it right above the rosettes to adhere.

And there you have it! A gorgeous necklace that any girl would love to get as a gift!
Need other ideas to use rosettes? Cluster a few together and glue a pin on the back to dress up that boring old cardigan. Add a couple to a tote bag to brighten up the look. Attach some to a headband or hair clip. Go crazy with them, adding them to everything you can find!


1 comments:
Cute necklace! I glued a bunch of tan, green and red fabric rosettes to a fabric-wrapped wire frame last year to make a wreath!
Post a Comment
Note: Only a member of this blog may post a comment.